How to Share Practice Videos With Students

The simplest way to share a practice video with a student is to record one short clip per student, upload it to a cloud folder, and send a private link instead of the file. Then put the video next to a written plan that says what to practice, how often and what “good” sounds like. The video shows the technique. The plan makes sure someone acts on it.
This guide covers the full workflow: recording, choosing between a link and a file, handling large files, organizing a library students can actually find, protecting privacy, and what to write alongside each video.
TL;DR
- Send a link, not an attachment, whenever the student only needs to watch the video. Use the file itself only when someone needs the original.
- Keep videos short and focused on one skill, and record one student at a time.
- Use private or restricted access. On YouTube, “unlisted” means anyone with the link can watch, so treat it as semi-public.
- Pair every video with a written practice plan: what to practice, how many days, and what to listen or look for.
- Keep one consistent folder and naming system so videos can be found between lessons.
Table of Contents
- Record a clip that is worth sending
- Link or file: which should you send?
- When the file is too big
- Organize videos so students can find them
- Keep student videos private
- What to send with every video
- Our perspective
- Put videos and plans in one workspace
- A weekly routine that takes minutes
- FAQ
- Sources
Record a clip that is worth sending
A practice video is not a recording of the lesson. It is a short demonstration that answers one question the student will have on Wednesday night when you are not there. Aim for one skill per clip: the fingering in measure 12, the bow hold, the clapped rhythm of the second line, the way you want the left hand to relax.
A few habits make clips more useful:
- Say the goal first. Start with one sentence: “This is the left-hand shape for the B section, slow, then at tempo.”
- Show it twice. Once slowly, once at the tempo you want. Students often only copy the fast version and miss the mechanics.
- Frame the hands or the instrument. Check the angle before you commit to a full recording. A 10 second test saves a re-record.
- Keep it short. A clip that gets watched beats a thorough one that gets skipped. If you need more than a couple of minutes, split it into two clips.
- Record the student’s version too, when appropriate. A short clip of the student playing the passage, with your spoken feedback, tells them more than a demo alone.
If you want a fuller system for batching these clips so they do not eat your evenings, our guide to batching demo videos for parents in 30 minutes a week walks through it.
Link or file: which should you send?
For most teaching, a link is the better choice. Guidance on sharing video says to use a link when the recipient only needs to watch or review, because it avoids attachment limits, streams more conveniently and lets you change or revoke access later. Sending the file or a download link makes sense only when the recipient needs the original, for example for editing or offline archiving (Mindstamp).
There is also a practical reason. Large attachments, roughly 10 MB and up, can fail to deliver or run into mailbox limits (TimeTabling Solutions). A phone video of a two-minute piece easily passes that.
Here is how the options compare for a typical studio:
| Situation | Best choice | Why |
|---|---|---|
| Student needs to watch a demo | Private streaming link | No download, no size limit, you can revoke it |
| Student needs to keep the clip offline | Download link | Works without internet at the practice space |
| Student sends you a clip to review | Upload to a shared folder | You get the original quality and one place to look |
| Parent wants to see progress | Link inside a lesson summary | Context travels with the video |
A tip from sharing guides: open your link in a private or incognito browser window before you send it. If you can watch it there without logging in, your student can too, and if you cannot, you will find out before the student does (Kreatli).
When the file is too big
High-quality phone video gets large quickly. Cloud storage solves most of it.
Google Drive’s help pages say a video can be as large as 5 TB if your account has that much storage, otherwise your available storage is the limit. Playback tops out at 1920×1080 (Google Drive Help). Google also supports common formats such as MOV, MPEG4, WebM and AVI, though not every format plays on every device, so if a student on an older tablet cannot play a clip, re-exporting to MP4 is the usual fix.
For Google Workspace accounts, such as a school or studio account, the admin documentation says each user can upload or copy 750 GB to Drive within 24 hours, and individual files can be up to 5 TB (Google Workspace Admin Help). For an independent teacher, those ceilings are far above anything a practice clip will reach.
In practice:
- Record on your phone or laptop at the quality you need, not the maximum.
- Upload to a folder in your cloud storage.
- Set the folder or file to restricted, then add the student’s or parent’s email address.
- Send the link, not the file.
If a student has trouble uploading their own clips, they can upload to a shared folder and send you the link, or submit through a form. Either way you keep one place to look.
Organize videos so students can find them
A video nobody can find is a video nobody watches. The most common failure is a stream of links scattered across texts and emails. By week six no one remembers where the bowing demo went.
A few structures work well:
- A folder per student. Inside it, subfolders by piece or skill (“Sonatina”, “Scales”, “Rhythm”). Each family sees only their own folder.
- A shared library for common skills. Demos that apply to many students, such as how to hold a bow or how to count a dotted rhythm, live in one folder with a consistent naming convention.
- Numbered names. Start file names with 00, 01, 02 so the order is obvious. EduGals suggests this along with a table of contents document that shows what is done and what still needs to be made (EduGals).
- A spreadsheet index. A simple sheet with links, descriptions and topics also works as a catalog (Screencastify).
A name like “2026-11 Clarke Sonatina m12-16 left hand slow” tells you everything. “IMG_4821” tells you nothing.
The point that matters most: whichever system you pick, link to the video from the place families already look for the weekly assignment. If the plan lives in one place and the video lives in another, you have doubled the chance of a missed practice. Our piece on repertoire tracking that teaches covers how to keep pieces, goals and reflections together.
Keep student videos private
A video of a child playing is personal information. Treat it that way from the first clip.
What the U.S. Department of Education says
The Department of Education says a photo or video is generally a FERPA education record when it is directly related to a student and maintained by an educational agency or institution, or a party acting for it (Protecting Student Privacy). That applies most directly to schools and school-affiliated programs. If you teach inside a school or district program, ask the school which rules apply before you record. If you run an independent studio, the same thinking is a sound baseline even where FERPA does not directly govern.
The Department also says that when a video shows several students, the institution should reasonably redact or separate the other students where possible. If that is not possible without destroying the record’s meaning, each affected parent may be able to inspect the whole record (Department of Education FAQ). The easiest way to avoid this problem is to record one student at a time.
A privacy-first routine
- Record one student per clip. Do not show other students, and avoid names on screen.
- Get any permission your school or the parent requires before you record or share.
- Share with named people, using restricted access and the parent’s email, rather than “anyone with the link”.
- Clear out old links at the end of a term or when a student leaves.
Understand YouTube’s privacy settings
YouTube is handy for public demos such as a scale pattern or a bow-hold tutorial. For student recordings, read the settings carefully. YouTube’s help page says private videos are visible only to you and the people you choose, while unlisted videos can be viewed by anyone with the link and do not appear in search unless added to a public playlist. Private videos do not support comments, but unlisted ones do (YouTube Help).

So unlisted is fine for a generic demo you made yourself. For a recording of a specific child, use private with named viewers, or a restricted cloud folder. A link can be forwarded, and unlisted does not stop that.
What to send with every video
This is the step most teachers skip, and it decides whether the video leads to practice. A clip alone says “here is how it goes”. It does not say what the student should do on Tuesday, how long, or what counts as done. Parents of younger students, who are often the ones pressing play, need that spelled out.
A good companion note has five parts:
- The focus. One sentence: “This week is about the left-hand shift in measures 12 to 16.”
- The how. “Play it slowly with the metronome at 60, four times, then once a notch faster.”
- The frequency. “Five days this week, about 10 minutes.”
- What to notice. “Listen for even eighth notes. Watch that your wrist stays loose.”
- The finish line. “By next lesson, you can play it twice in a row without stopping.”
This connects to measurable goals. If you set tiers of goals, the video demonstrates the first tier and the note names the outcome. We lay out how in our guide to three tiers of music practice goals.
For parents who do not play, add one line they can use: “If it sounds like the video, that’s a good practice. If the notes stop and start, slow it down.” That gives them a way to help without needing musical training. For wording that keeps the tone friendly and sets boundaries on how often you reply, see our copy-ready parent communication templates.
Our perspective
Most video-sharing problems in a studio are not technology problems. The clip gets recorded, the link gets sent, and then the family has a video in one app, a note in another and a payment reminder in a third. Nobody is sure what the plan is.
That is why we built Allegro around the weekly loop rather than the video. Lesson notes become a practice plan, and the plan becomes an Encore: a parent-ready summary of what happened in the lesson and what to practice next. A demo link belongs inside that summary, next to the instructions it supports, so the family opens one place and sees both.
Our advice to any teacher: shorten the clip, narrow the goal and make the next step impossible to miss. If you do that, the tool you use matters far less than the habit of closing every lesson with a clear plan.
Dave
Put videos and plans in one workspace
Allegro is a workspace for independent music teachers that handles students, lessons, digital lesson notes, practice assignments and Encores, plus tuition tracking and sheet music links. Students and parents use it free of charge. Teachers start with a 30-day trial. The Studio plan is $39 per month, and you can see the Solo plan on our plans page.
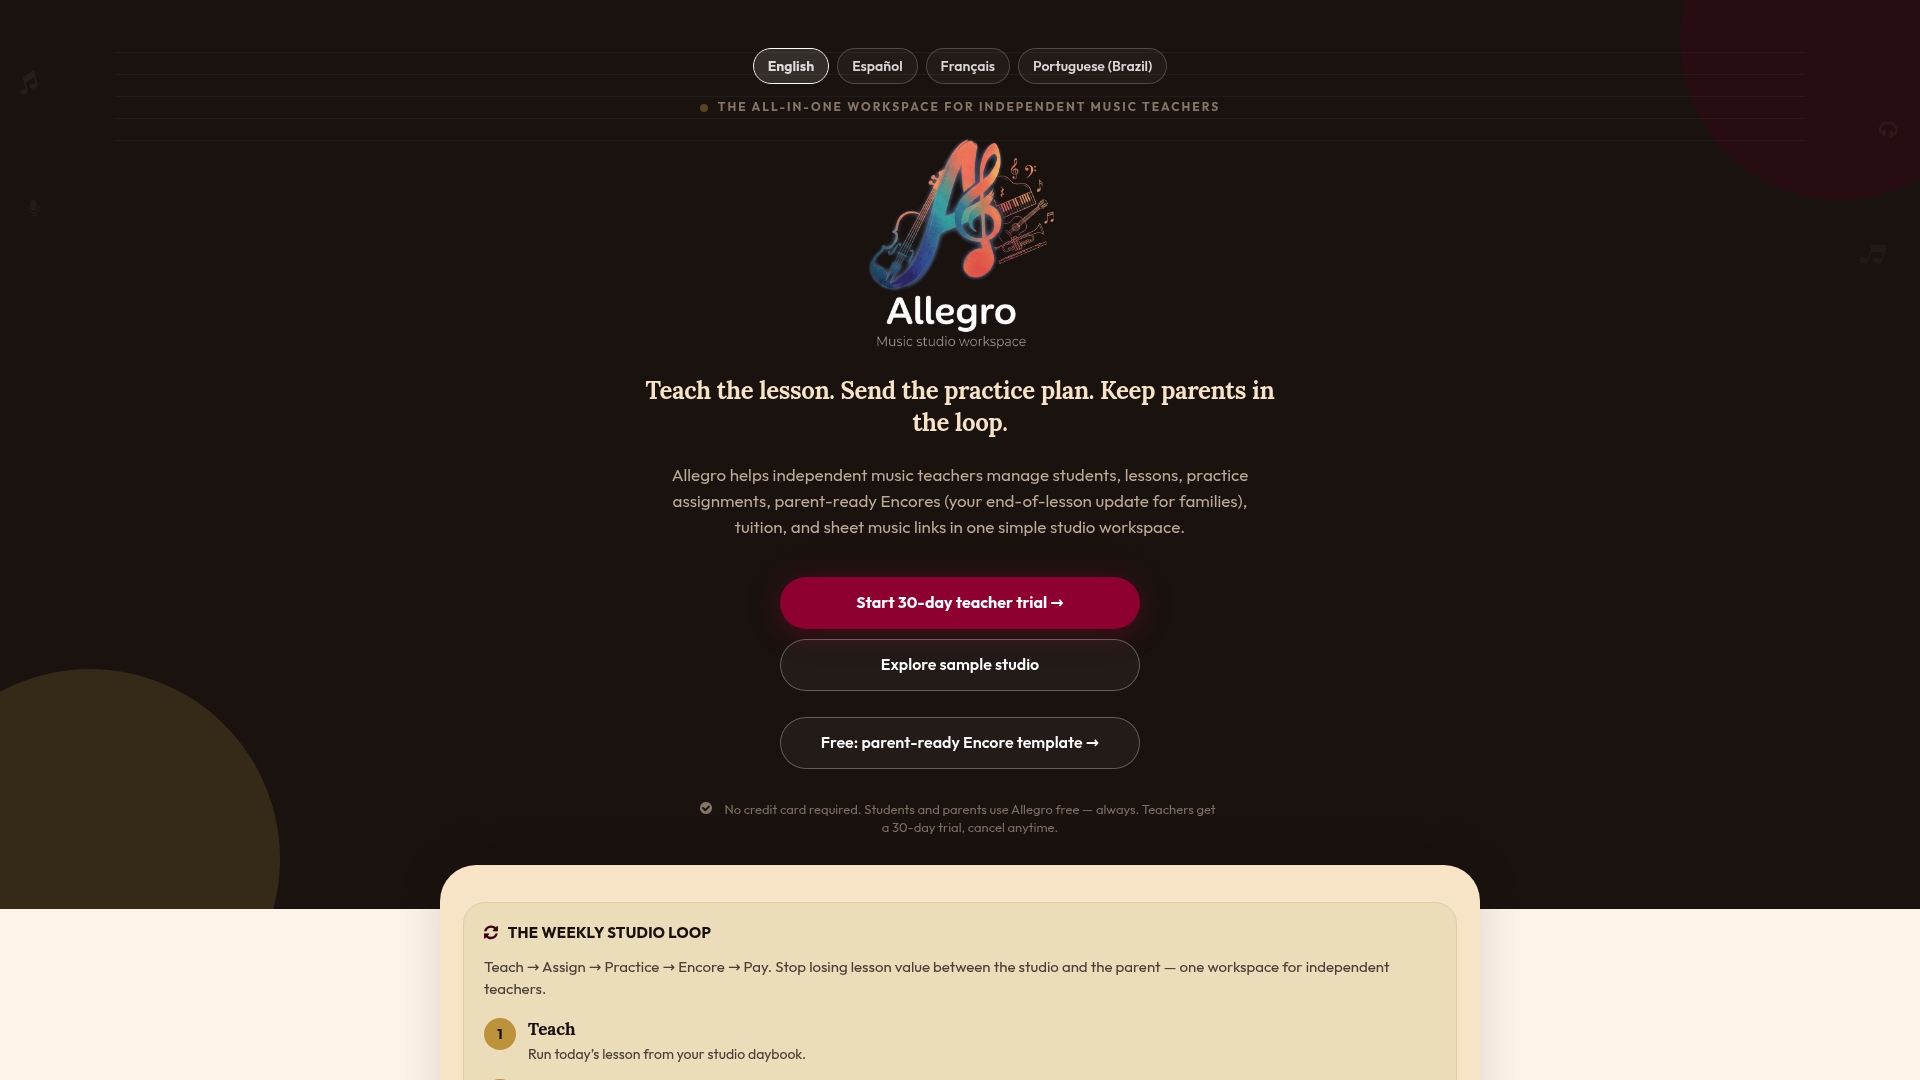
If your videos already live in a cloud folder, you do not have to move them. The aim is that each lesson ends with one plan the family can follow. You can browse a sample studio to see what a lesson note and Encore look like before you decide anything.
A weekly routine that takes minutes
Here is a simple pattern that works for most studios:
- During the lesson, jot down the one or two things the student will struggle with at home.
- In the last five minutes, record a short demo of each. Protecting this window is easier than recording later, and our piece on lesson time management shows how to keep the close from being squeezed out.
- Right after, upload to the student’s folder and copy the link.
- Write the plan: focus, how, frequency, what to notice, finish line.
- Send one message to the family containing the plan and the link, not three separate texts.
- Next lesson, ask the student to play the passage and compare it to the demo.
For teachers who teach some lessons remotely, the same flow works with a few changes. Our remote lesson communication plan covers what to send before, during and after an online session. For the parent-facing side of this routine, the 1-1-1 lesson note method gives a three-step structure that fits neatly beside a video link.
Common mistakes to avoid
- Sending the entire lesson recording. It is long, hard to navigate and often includes things you do not want to share.
- Sending links with no instructions. Families will watch once and wonder what to do next.
- Using public links for students. Anyone with a public or unlisted link can view it, and a link can be forwarded.
- Never cleaning up. Old links to former students should be revoked.
- Making videos too polished. A clear, plain clip recorded in two minutes is usually better than one that took an hour to edit.
FAQ
What is the easiest way to send a practice video to a student?
Record it on your phone, upload it to a cloud folder, and send the student or parent a restricted link. A link avoids email attachment limits and lets you revoke access later. Add a short written plan so the family knows what to do with the clip.
Should I send the video file or a link?
Send a link when the student only needs to watch. Send the file or a download link only when they need the original, such as for offline use or editing. Links stream conveniently and avoid the delivery failures large attachments can cause.
Is an unlisted YouTube video private enough for student recordings?
Not for a recording of a specific child. YouTube says anyone with the link can view an unlisted video, and links can be forwarded. For student recordings, use private with named viewers or a restricted cloud folder. Unlisted is fine for generic demos you made yourself.
How long should a practice video be?
Long enough to show one skill, usually well under a couple of minutes. If you need more, split it into separate clips named in order. Short clips get watched, and each can be tied to one clear practice instruction.
How do I help parents who do not play an instrument use the videos?
Give them one plain-language check, such as “if it sounds steady and matches the clip, that’s a good rep.” Add the number of days and minutes to practice. A parent-ready summary with the video link beside it is easier to follow than a link on its own.
Sources
- Mindstamp: How to Share a Video
- TimeTabling Solutions: Sending Large Video Files via a Link
- Kreatli: How to Share Video
- Google Drive Help: Store and play video
- Google Workspace Admin Help: Storage and upload limits
- EduGals: 10 Tools for Curating Instructional Videos
- Screencastify: Build a Video Library
- Protecting Student Privacy: Frequently Asked Questions
- Protecting Student Privacy: Video as an education record for multiple students
- YouTube Help: Change video privacy settings